
How To Create a DIY Paneled Wall in a Weekend
Hi! It’s been a while… lots of exciting changes going on over here so I’ve been a little tied up with that. But, I am back with a fun little project that we did last fall that has made a major impact on our living room. And it’s pretty easy, and inexpensive so I wanted to share with you on how we did it so maybe you could to.
Call it a focal wall, an accent wall whatever you like, I call it the best $200 we’ve spent lately and some MAJOR character. It has made a dramatic difference to a wall that I used to just stare at and wonder what to do with. And really who wants to sit and wonder what to do with the wall behind the TV, while you are watching your only hour of TV of the day after the kids are in bed? Let’s be real, I need my focus when I’m binge watching my Ray Donovan.
We are lucky to have a house filled with tall ceilings, a solid amount of architectural charm and lots of big (albeit tall and narrow, but big) windows that bring in lots of natural light. And honestly there aren’t many walls in our house that don’t have a window. Except one. A big, blank empty wall, in our living room behind our TV that has always bothered me because it needed that “something” to make it exceptional and a little less stark.
If your don’t happen to have have a lot of character or want to up the character a bit, instead of just adding more furniture, or painting, adding a focal wall with some moulding is a great way to infuse some serious architectural detail into your space.
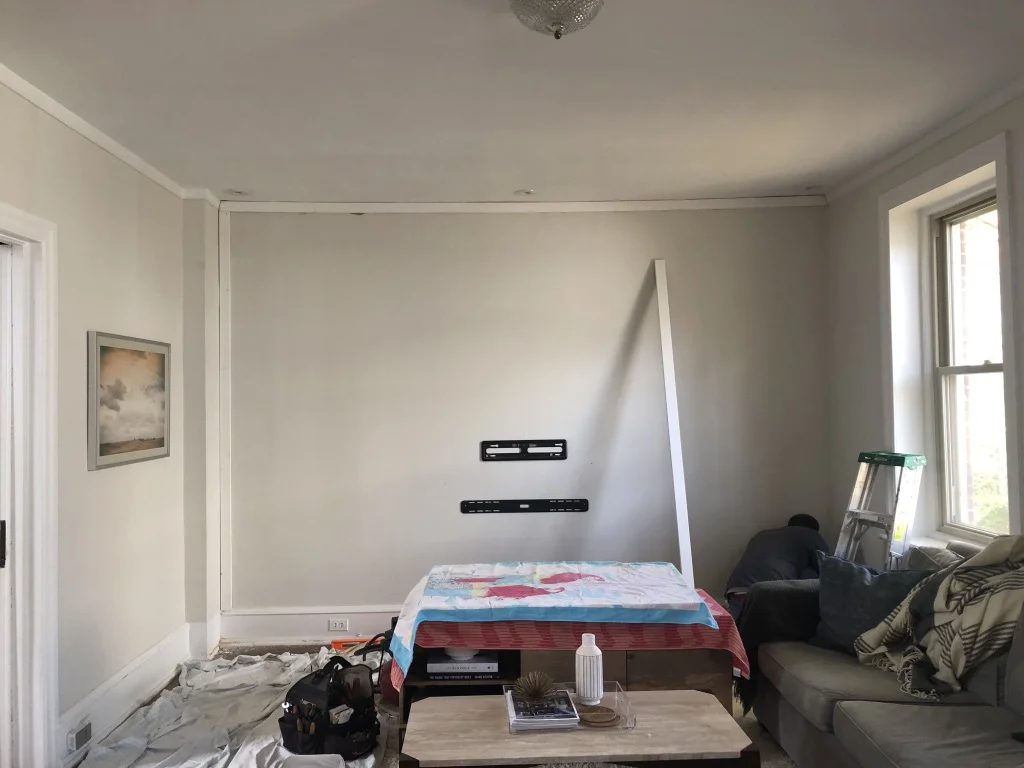
So, like I said, this wall has been on my to-do list for months/years but I couldn’t decide what to do with it. I didn’t want a huge TV that took up more of the wall (sorry sports fans - no 70 inch screen for us) so I considered built-ins (which would have also been amazing, but not in the cards for a couple of reasons), a gallery wall, exposed brick, a window of some sort, wallpaper or paint etc. etc., but landed on this applied box paneling detail.
We (and I say we, I mean mostly my husband Scott) installed it in a weekend - paint and all for less than $150 in materials. Not too shabby. It did take some planning up front and lots of measuring and heavy use of the level to make sure it came out right. But all in all I say it was a big impact for a little money.
I think I’ve mentioned before that I tend toward minimalism and LOVE me some texture. I wanted to create a fresh and interesting focal point all while keeping the with the clean and livable design of the room. So this became the perfect way to pull that off. I didn’t want a lot of visual clutter, but I wanted impact. The house is almost 100 years old and has so much great moulding and trim work throughout that it seemed like an easy way to expand on the historic feel of the home. If you don’t have a lot of architectural detail and want to upgrade your builder grade home this is an amazing way to do that.
We painted all the walls in the room Benjamin Moore Classic Grey, but with the paneling it creates visual interest by giving that wall texture. I also used an eggshell finish rather than a matte that’s on the rest of the wall to give it just a bit of sheen (again, its subtle and I very well may be the only person on earth who notices this small detail, but it’s there trust me)
You could absolutely paint it a contrasting or darker color to amp up the drama and I think it would look amazing, like this one below.
So, Here’s How We Did It and Simple Tips to Create Your Own Focal Wall in a Weekend
First step. We measured and planned and measured some more (for good measure). We laid out how big the existing moulding and baseboards are compared to the wall and drew out how the boxes could be laid out. It’s basically like cutting the wall in sections. Make sure that the size of each box is even and the size of your paneling add up to the size of your wall. And don’t forget to map out your outlets etc.
We did some sketching and came up with a couple different scenarios on how we thought the boxes could be applied on the wall. For example we considered 16 individual boxes as well as as few as 6. And landed on 15 (3 rows of 5). Our goals were to keep the boxes large without being too large, but not so small that there were too many little boxes either. I wanted to keep it feeling grand and uncluttered.
We then lined up where all of the vertical panels would go and where all the smaller horizontal panels would fill in.

We glued the panels first with construction adhesive and followed up with the nail gun. PS.…these things aint never coming off without a fight.

After they were all glued and nailed, we filled the holes with sparkle, caulked the joints and sanded.

Next we painted, and the kids got to help a bit with this step, and we rehung the TV and sound bar.
And Voila, some fresh new character in a weekend for our living room. Last step was to enjoy a glass of wine and jump right back into our Ray Donovan binge session.

Here’s what you will need to create your own DIY focal wall:
Sandpaper
Roller, Paint Brush and Paint
Tools:
Let me know what you think of the new wall in the comments or if you have any questions.
And, if you are looking to make small but impactful changes in your home, consider a consultation to help spur some ideas and kick off your own DIY project.
Not the DIY type? I hope you’ll consider my full service or online design to bring your design project to life.
*Some of the links included in this post are affiliate links, meaning at no additional cost to you, I will earn a commission if you click through and make a purchase.